Rack-Mountable Audio Mixers

How many channels do rack-mountable audio mixers typically have?

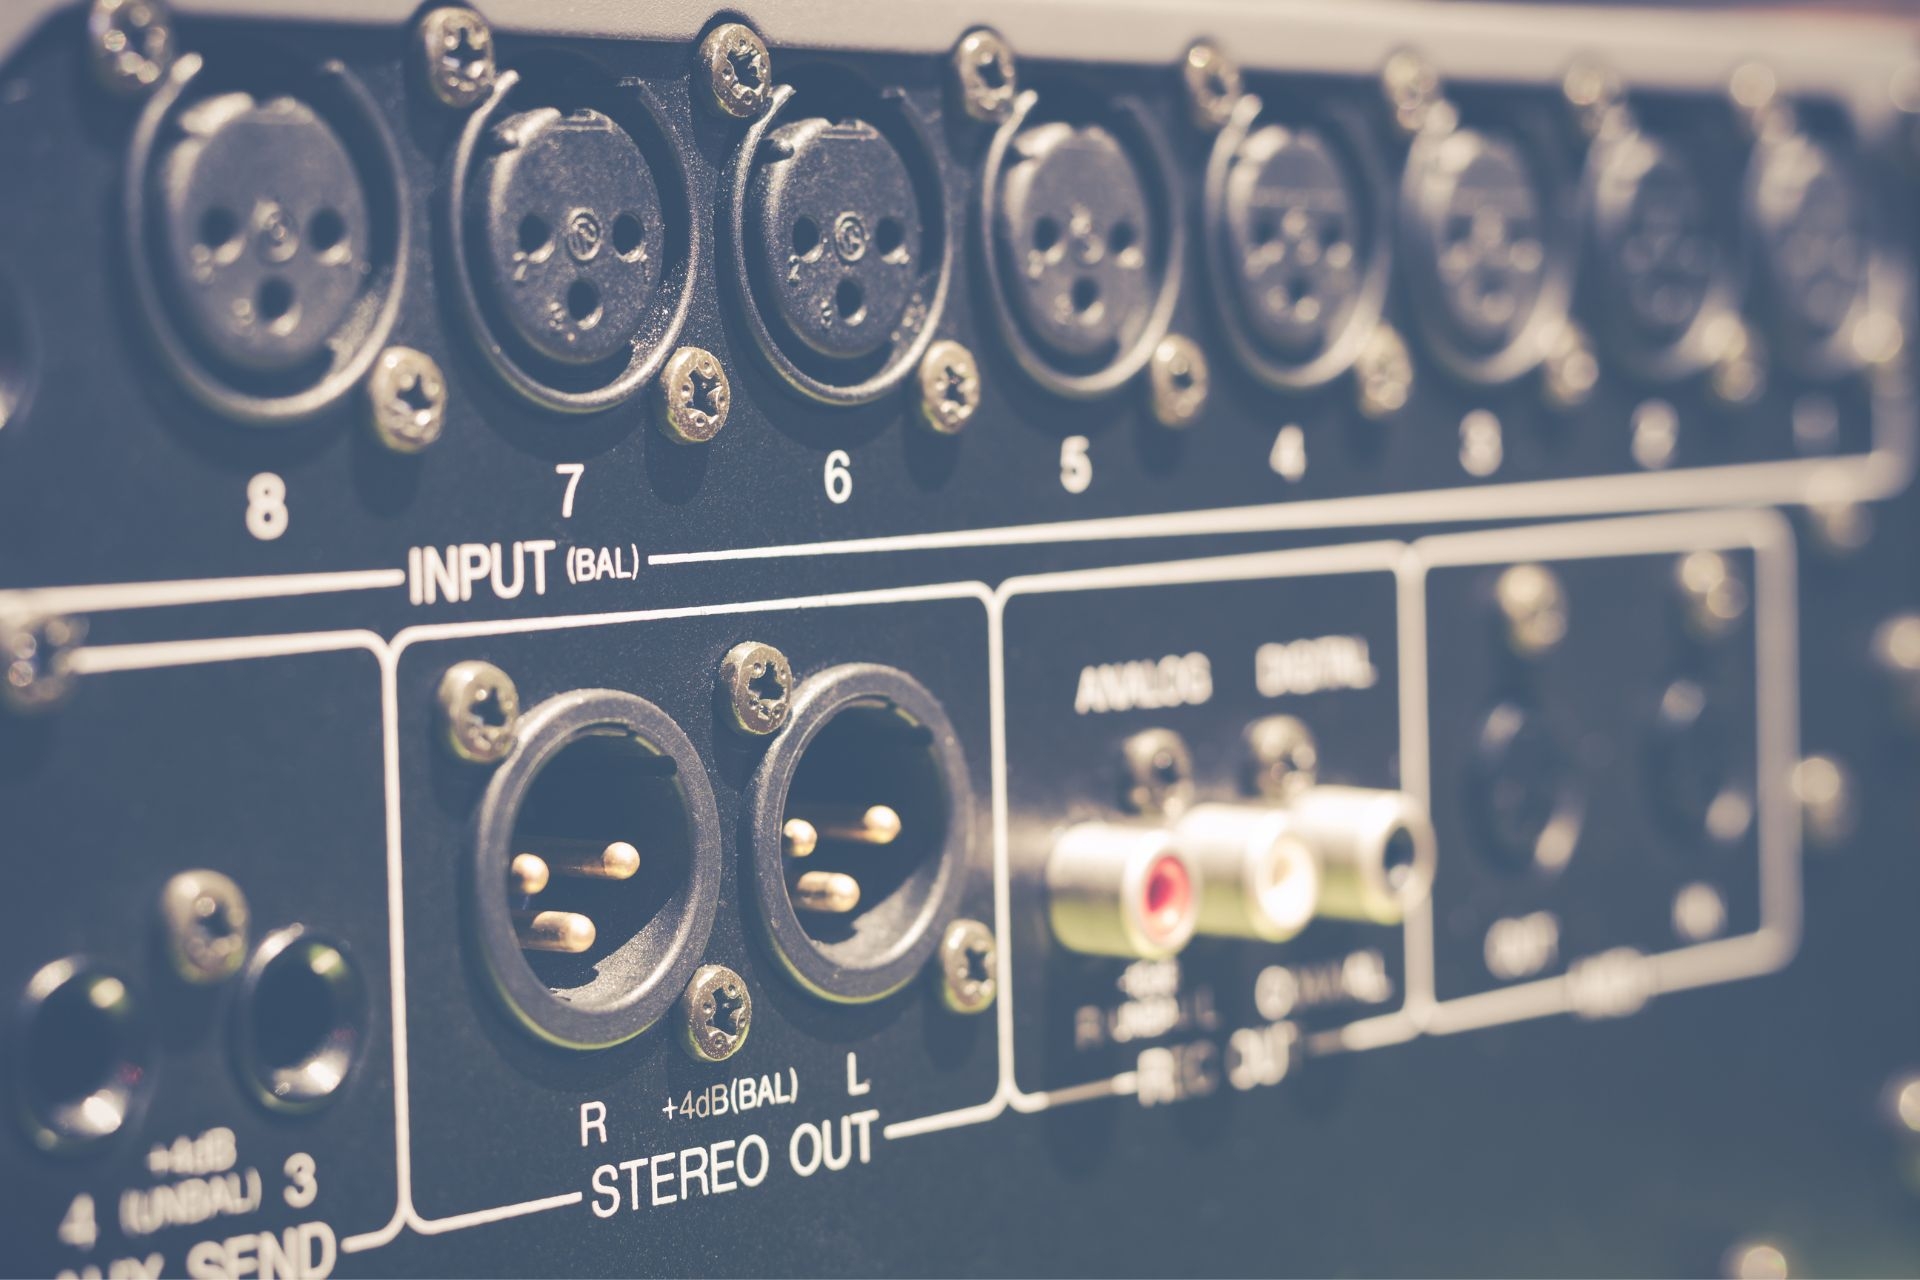
Rack-mountable audio mixers typically have a varying number of channels, ranging from as few as 4 channels to as many as 32 channels or more. The number of channels on a mixer determines how many different audio sources can be connected and mixed together simultaneously, making it an essential factor to consider when choosing a mixer for a specific application.

How many channels do rack-mountable audio mixers typically have?

What is the difference between a line input and a mic input on a rack-mountable audio mixer?

The main difference between a line input and a mic input on a rack-mountable audio mixer lies in the level of signal they can handle. A line input is designed to accept line-level signals from devices such as CD players or keyboards, which have a higher signal level than microphones. On the other hand, a mic input is specifically tailored to accept low-level signals from microphones, providing the necessary preamplification to bring the signal up to line level for processing.

Google partners with HP on Starline 3D videoconferencing

HP will commercialise the flatscreen TV-sized 3D videoconferening solution from 2025, drawing on its expertise in computing, Poly AV technology leadership and global salesforce. The post Google partners with HP on Starline 3D videoconferencing appeared first on AV Magazine.

Posted by on 2024-05-14

Absen opens UK showroom as hub for European operations

The facility features solutions for the rental and staging, virtual production, conference and DOOH markets, while highlighting Absen's commitment to reducing its environmental footprint. The post Absen opens UK showroom as hub for European operations appeared first on AV Magazine.

Posted by on 2024-05-14

Blue Elephant invests in latest LED screen from Theatrixx

The technical production specialist is the first UK-based supplier to invest in the Canada-based manufacturer's second-generation xVision Nomad 2.6 LED screens. The post Blue Elephant invests in latest LED screen from Theatrixx appeared first on AV Magazine.

Posted by on 2024-05-14

Netherlands national museum modernises AV distribution

Visionary’s PacketAV Matrix Series was selected as the core intrastructure to ensure robust performance and a simplified user experience at the Rijksmuseum in Amsterdam. The post Netherlands national museum modernises AV distribution appeared first on AV Magazine.

Posted by on 2024-05-15

Digital Signage Summit Europe reveals 2024 highlights

The highlights of the show for the digital signage and DooH sectors, which takes place in Munich, include the launch of a vendor-neutral tool to simplify CMS selection and the invidis Yearbook.  The post Digital Signage Summit Europe reveals 2024 highlights appeared first on AV Magazine.

Posted by on 2024-05-14

Can rack-mountable audio mixers be used for live performances as well as studio recordings?

Rack-mountable audio mixers are versatile tools that can be used for both live performances and studio recordings. Their compact size and rack-mountable design make them ideal for live sound setups where space is limited, while their built-in features such as EQ, effects, and routing options make them equally suitable for studio applications where precise control over the audio signal is required.

Can rack-mountable audio mixers be used for live performances as well as studio recordings?

What is the advantage of having built-in effects on a rack-mountable audio mixer?

One of the advantages of having built-in effects on a rack-mountable audio mixer is the convenience and flexibility it offers to the user. Instead of having to connect external effects processors, the mixer allows for on-board effects such as reverb, delay, and compression to be applied directly to the audio signal, saving time and simplifying the setup process.

How do you connect external devices, such as instruments or microphones, to a rack-mountable audio mixer?

Connecting external devices, such as instruments or microphones, to a rack-mountable audio mixer is a straightforward process. Most mixers come equipped with a combination of XLR and 1/4-inch inputs, allowing for a variety of devices to be connected. Simply plug the output of the external device into the corresponding input on the mixer, adjust the input gain as needed, and route the signal to the desired channel for mixing.

Patch Panels for Signal Routing

How do you connect external devices, such as instruments or microphones, to a rack-mountable audio mixer?
Are there any specific features to look for when choosing a rack-mountable audio mixer for podcasting?

When choosing a rack-mountable audio mixer for podcasting, there are several key features to look for. These may include built-in USB or Bluetooth connectivity for easy integration with recording software, dedicated headphone outputs for monitoring, and flexible routing options for incorporating multiple audio sources such as microphones, music players, and phone calls.

How do you set up a rack-mountable audio mixer in a home recording studio?

Setting up a rack-mountable audio mixer in a home recording studio involves several steps. First, ensure that the mixer is securely mounted in a rack or on a stable surface. Connect your audio sources, such as microphones and instruments, to the appropriate inputs on the mixer. Adjust the input gain levels to achieve a proper signal level without clipping. Route the mixed signal to your recording device, whether it be a computer interface or a standalone recorder. Finally, monitor the audio output through headphones or studio monitors to ensure a clean and balanced sound.

Audiovisual Rack Design for Commercial Audiovisual Installation

How do you set up a rack-mountable audio mixer in a home recording studio?

To calculate the weight capacity of an audiovisual rack, one must first determine the maximum load capacity of each individual shelf or level within the rack. This can typically be found in the manufacturer's specifications or documentation. Next, one should consider the type of equipment that will be placed on the rack, including amplifiers, receivers, speakers, and other audiovisual components. By adding up the weight of each piece of equipment that will be stored on the rack, one can then compare this total weight to the maximum load capacity of the rack to ensure that it will not be overloaded. It is important to factor in any additional weight that may be added in the future, as well as any uneven distribution of weight across the rack. By following these steps and considering all relevant factors, one can accurately calculate the weight capacity of an audiovisual rack to ensure safe and efficient storage of equipment.

When designing an audiovisual rack for a theater, key considerations include the size and weight capacity of the rack to accommodate all necessary equipment such as amplifiers, receivers, and media players. It is important to consider the ventilation and cooling system to prevent overheating of the equipment during long periods of use. Cable management is crucial to ensure a clean and organized setup, reducing the risk of signal interference or tripping hazards. Additionally, the rack should be designed with accessibility in mind, allowing for easy maintenance and troubleshooting. Integration with other theater systems, such as lighting and sound, should also be taken into account to create a seamless and cohesive audiovisual experience for the audience.

When determining the required rack space for a specific number of audiovisual components, one must consider the dimensions and form factor of each device. To calculate the total rack space needed, one can add up the rack units (U) required for each component. For example, a standard 1U device takes up 1.75 inches of vertical space in a rack. By multiplying the number of components by their respective rack units and converting to inches, one can determine the total rack space needed. Additionally, it is important to account for any additional space needed for cable management, ventilation, and future expansion. By carefully planning and calculating the required rack space, one can ensure that all audiovisual components fit properly and efficiently within the rack system.

When accounting for cable bend radius in an audiovisual rack, it is crucial to consider the minimum bend radius specified by the cable manufacturer to prevent signal degradation or damage to the cables. Proper cable management techniques, such as using cable management arms, horizontal and vertical cable managers, and cable trays, can help maintain the appropriate bend radius and prevent cables from being bent beyond their limits. Additionally, utilizing cable labels, cable ties, and Velcro straps can aid in organizing and securing cables within the rack to ensure they are not excessively bent or twisted. By following these guidelines and implementing proper cable management practices, one can effectively account for cable bend radius in an audiovisual rack to maintain optimal performance and longevity of the equipment.

When calculating the required rack space for future expansion of an audiovisual system, one must consider the number of additional components that may be added, such as amplifiers, receivers, switchers, and processors. It is important to take into account the size and dimensions of each device, as well as any necessary ventilation or spacing requirements. Additionally, the type of rack being used, whether it is a wall-mounted rack, floor-standing rack, or portable rack, will impact the amount of space available for expansion. By carefully planning and organizing the layout of the rack, one can ensure that there is enough room for future growth and upgrades to the audiovisual system.

Yes, it is possible to mount a video wall controller within an audiovisual rack. The video wall controller can be securely installed within the rack using appropriate mounting hardware and brackets. This setup allows for easy access and management of the video wall controller, ensuring seamless integration with other audiovisual equipment in the rack. By placing the video wall controller within the audiovisual rack, users can optimize space utilization and create a centralized control hub for their multimedia systems. Additionally, mounting the video wall controller within the rack helps to maintain a clean and organized setup, reducing clutter and improving overall system efficiency.